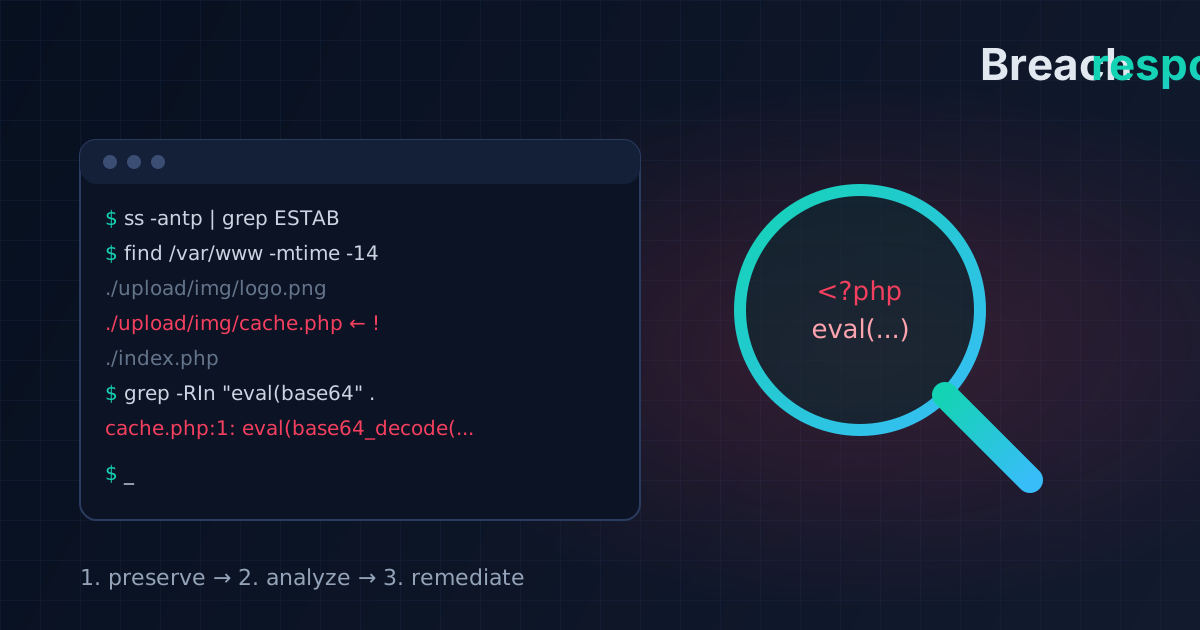
Cheat sheet: how to investigate a hacked website and server
Preserve evidence first, analyze second, remediate third. A step-by-step order of actions and ready-to-run commands for investigating a hacked website on a Linux server.
Translated from the Russian original. Русская версия
At a hosting company, tickets like “our site was hacked”, “the server is sending spam” or “scammers are calling our customers and know their orders” come in regularly. Under pressure you want to clean everything up and reboot right away — and that’s exactly how evidence gets lost. This cheat sheet is the order of actions I keep at hand for every such case.
The core principle
Preserve evidence and current state first, analyze second, remediate third. Don’t delete suspicious files or reboot the server until everything is saved: a deleted web shell can’t tell you anything anymore, and a reboot destroys processes and network connections.
1. Record the basics
- What happened: defacement, spam, a malicious file, a data leak, strange orders, scam calls.
- Who reported it and when.
- The domain, the server, the server’s time zone.
- The time of the event according to the customer — and check it against server time right away.
- What data may have leaked: names, phones, addresses, orders, email, payment data.
- Who has access: root, the hosting panel, the CMS admin, FTP/SFTP, the database, email, CRM, messenger bots, contractors.
2. Save the logs — first of all
Logs rotate, so copy them before taking any active steps.
Authentication and access: /var/log/secure or /var/log/auth.log, the output of last and lastb, users' .bash_history, authorized_keys files, /etc/passwd, /etc/group, /etc/sudoers and sudoers.d.
Web and CMS: Nginx and Apache access/error logs, PHP-FPM logs, control panel logs, CMS admin logs and audit trail.
FTP and files: FTP server logs, a list of recently modified site files, stat of suspicious files.
Mail: the mail log, the queue (mailq), SMTP/IMAP logs if a mail leak is suspected.
Database: the error log, the general log (if it was enabled), the list of DB users and allowed remote connections, dumps in /tmp, /root and site directories.
3. Capture the current state
The goal is to save what disappears on reboot:
hostnamectl; date; uptime
who -a; w
ss -tulpn          # who is listening
ss -antp           # active connections
ps auxww --forest  # process tree
systemctl --type=service --state=running
crontab -l
df -hT; free -m
last -a | head -50
lastb -a | head -100
Save each command’s output to a timestamped file.
4. Check for persistence
How an attacker could stay in the system after a “cleanup”:
# Cron
cat /etc/crontab
ls -la /etc/cron.d /etc/cron.hourly /etc/cron.daily /var/spool/cron

# Services and autostart
systemctl list-unit-files --type=service | grep enabled
ls -la /etc/systemd/system

# UID 0 users and SSH keys
awk -F: '($3==0){print}' /etc/passwd
find /root /home -name authorized_keys -type f -exec ls -la {} \;

# Temporary directories
ls -la /tmp /var/tmp /dev/shm
find /tmp /var/tmp /dev/shm -type f -mtime -14 -ls
5. Understand how the site works
Especially when a customer data leak is suspected, you need a map of how data travels from the visitor to the staff.
- where the site root is, which CMS and version;
- where the config with database credentials lives;
- which tables store orders, customers and users;
- how an operator receives an order: admin panel, email, messenger, CRM, API, webhook;
- which external services are connected: payments, delivery, SMS;
- where uploads and backups are stored.
6. Find the leak path
The main question: where did the attacker get the data? Check:
- CMS admin logins before and after the event;
- who opened the order page;
- who has access to the mailbox that receives order notifications;
- messenger bot tokens and webhooks that orders are sent to;
- order exports to CSV/XLS;
- debug logs that may contain phone numbers;
- database or site backups in web-accessible directories;
- web log requests to order APIs, AJAX handlers and admin sections.
7. Hunt for web shells
Start with recently modified files:
find /var/www/SITE -type f -mtime -14 \
  -printf '%TY-%Tm-%Td %TH:%TM %u %s %p\n' | sort
find /var/www/SITE -type f -name '*.php' -mtime -30 \
  -printf '%TY-%Tm-%Td %TH:%TM %u %s %p\n' | sort
Typical malicious code patterns:
grep -RInE "eval\(|base64_decode|gzinflate|str_rot13|shell_exec|passthru|system\(|assert\(|FilesMan|WSO|c99|r57" \
  /var/www/SITE --include='*.php'
Look separately at index.php, .htaccess, upload and image directories, CMS temp directories, files with double extensions (.php.jpg, .phtml, .phar) and any PHP files where there should only be images.
8. Check processes
ps auxww --forest
ss -antp
lsof -i -P -n
Suspicious: processes running from /tmp, /var/tmp, /dev/shm; unexpected perl, python, nc, socat, curl, wget; long-lived PHP processes not owned by the web server; outbound connections to unknown addresses; miners and odd systemd services.
9. Determine the likely vector
Without breaking production:
- versions of the CMS, modules, PHP, web server and panel — and public CVEs for them;
- SSH, FTP, panels, phpMyAdmin, webmail and the CMS admin exposed to the internet;
- weak spots: file uploads, old backups, an exposed
.git,.env,phpinfo; - file permissions: can the web user write where the code lives;
- whether there is a WAF, fail2ban, a firewall.
Active scanning only carefully and with the owner’s permission.
10. Build a timeline
A timeline shows cause and effect better than any description:
DD.MM 09:15  customer placed an order
DD.MM 09:16  the site created the order, a notification email went out
DD.MM 09:17  the order was opened in the admin panel from IP X
DD.MM 12:30  a scammer called the customer
Sources: what the customer and the operator say, order history in the CMS, web logs, the mail log, CRM and webhook logs, authentication logs, file modification times, command history.
11. When it’s time to remediate
Only after artifacts are saved and an initial assessment is done:
- restrict SSH by IP or put it behind a VPN, restrict or disable FTP, close the database from the outside;
- change the root password, SSH keys, CMS, FTP, DB and mail passwords, API tokens;
- delete web shells — after saving a copy and its hash;
- update the CMS, modules, PHP and the panel;
- enable a WAF, fail2ban and firewall rules;
- fix file permissions;
- enable auditing of admin logins and notifications about them.
12. The final report
- what happened and which data may have been affected;
- the confirmed or likely vector;
- the timeline;
- indicators of compromise: IPs, files, URLs, user agents, accounts;
- what was done to contain it and what remains for full remediation;
- what to change in processes so it doesn’t happen again.
Mini checklist
- Record the basics and the event time
- Save logs: auth, web, mail, FTP, CMS, panel
- Capture state:
date,uptime,who,ss,ps,crontab - Check logins, users, SSH keys, sudo
- Check cron, systemd, temp directories
- Understand the site and the data path
- Find modified files and web shells
- Check mail, CRM, bots, webhooks
- Check versions and known vulnerabilities
- Build a timeline
- Contain the incident and rotate every secret
- Write the report
For an example of this approach in practice, see the breakdown of a corporate email compromise.